Are you trying to get a perfect travel shot for your Insta grid? A few great images for your travel blog? A photo that you can sell on a stock image website like iTunes or Getty Images? Or, just a beautiful picture that documents your adventure?
Whatever your reason is for trying to capture your travel experiences on film, these tips will help you capture the culture, architecture, and feeling of the places you are visiting so that you will have visual memories to transport you back to your adventure once you return home and make your travel pictures more interesting.
Take as many photos as possible
No longer do you have to worry about carting around rolls of film while you travel (and yes, I am old enough to have taken my first long-term trip with a film camera). Fill up your memory cards and smartphone photo album with as many shots as you can!
You might have to take 100 images to get that perfect shot that captures the sight, smells, sounds, and memories of a place. Take as many photos as you can — adjust your zoom, change your angle, come back at a different time of day.
This photo was taken at the Musee d’Orsay in Paris. The artwork is by Monet and is stunning on its own, but without the couple in the image, you would have no idea how large the painting is and the image would be a lot less interesting.
Include people in your travel images
Most travelers are obsessed with keeping other people out of their photos, but that can often lead to generic images of the same old famous sites and monuments, or images that have no perspective.
Sure, that Gothic church is enormous, but without someone in front of it to show scale, you lose the sense of awe that your photo could convey.
The key to including people in your photos is making sure you are selective. This might mean waking up early or staying up late to avoid the crowds of people and getting just one or two in your shot. Or, it might mean bringing along a friend to use as a model, hiring an actual model, or chatting up one of the tourists and seeing if they would be willing to be in your image. (Remember to bring photo releases with you if you are planning on selling your photos or using them commercially).
We’ve all seen countless shots of the Eiffel Tower, but not often one from this angle where you can really see the detail of the tower itself. Think about how you can capture iconic monuments in unique ways on your next trip.
Find unique ways to photograph well-known monuments
There are a million photos of the Eiffel Tower, but you will (of course) still want to take one. How do you make your shot interesting?
Approach every well-known monument or tourist spot keeping your eye out for the unusual. Maybe there is a beautiful piece of graffiti or public art that you can include in your shot. An interesting person strolling by that you can capture. Or, a detail that catches your eye. Walk around to find a different, lesser photographed view or zoom-in on the details.
This is Waikiki beach in Honolulu on the Island of Oahu, but from this perspective (across the street looking at the beach) it looks different than the typical tourist shots that you see,
Shoot from a different perspective
If you can, try and take photos from multiple levels and perspectives. Sure, take that initial shot standing and holding your camera in front of you. But then try crouching down and looking up, setting your camera on the ground, climb on top of a bench and shoot from up high, or get onto a balcony, hill, or some other form of higher ground to get a capture from above.
You’ll be surprised to see how different just a change in height can make to the mood of your image.
From top left to right: Details of the ceiling of a church in Lisbon, cobblestones in Belem, fishing floats in Nova Scotia, and an ornate door knocker from a door in Paris.
Capture the details
The details of a place are what convey its true essence, and it’s those details that will often evoke the strongest memories of the trip for you.
Take photos of the cobblestones, the carved door at your guesthouse, the tiles on the building you walked by, the sandwich you got from that food truck, the rocks on the beach — anything that will transport you right back to that moment in your adventure.
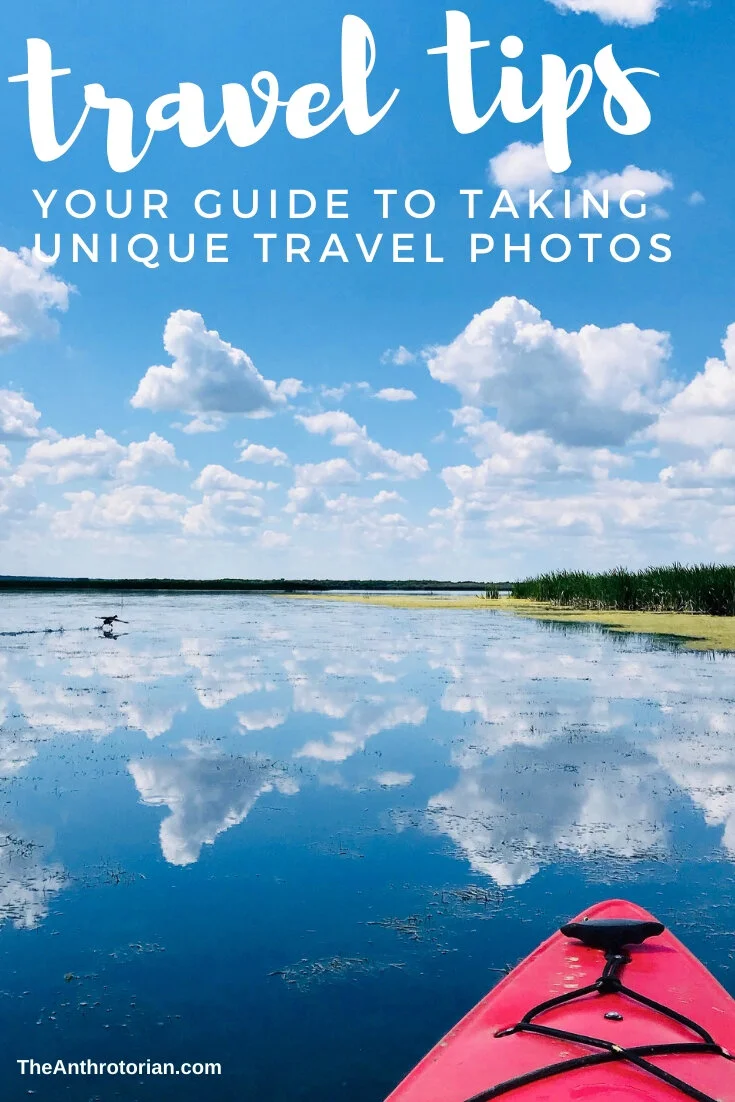
Because of the way this photo was taken, you almost feel like you are the one in the kayak enjoying a beautiful sunny day and amazing view.
Make sure your images are experiential and immersive
The best way to make someone feel like they are a part of your experience (or to transport you right back into that moment), is to take an image that feels immersive.
But how do you do this?
The key to taking an immersive image is to take the shot as you are in the middle of the action. Whether it’s walking down the street, in the middle of an event, or in front of a monument, you want the image to seem like the person who is looking at it is in the middle of the action.
Take photos of lesser-known places
Once you’ve gotten those iconic tourist spots in your camera roll, check out the B- or C-list spots recommended by your travel book. You are guaranteed to come across some hidden gems that are rarely photographed and get some enviable images.
If you are looking to sell your photos, these are the types of images that might be more interesting to art directors or graphic designers who are looking for something outside-the-box.
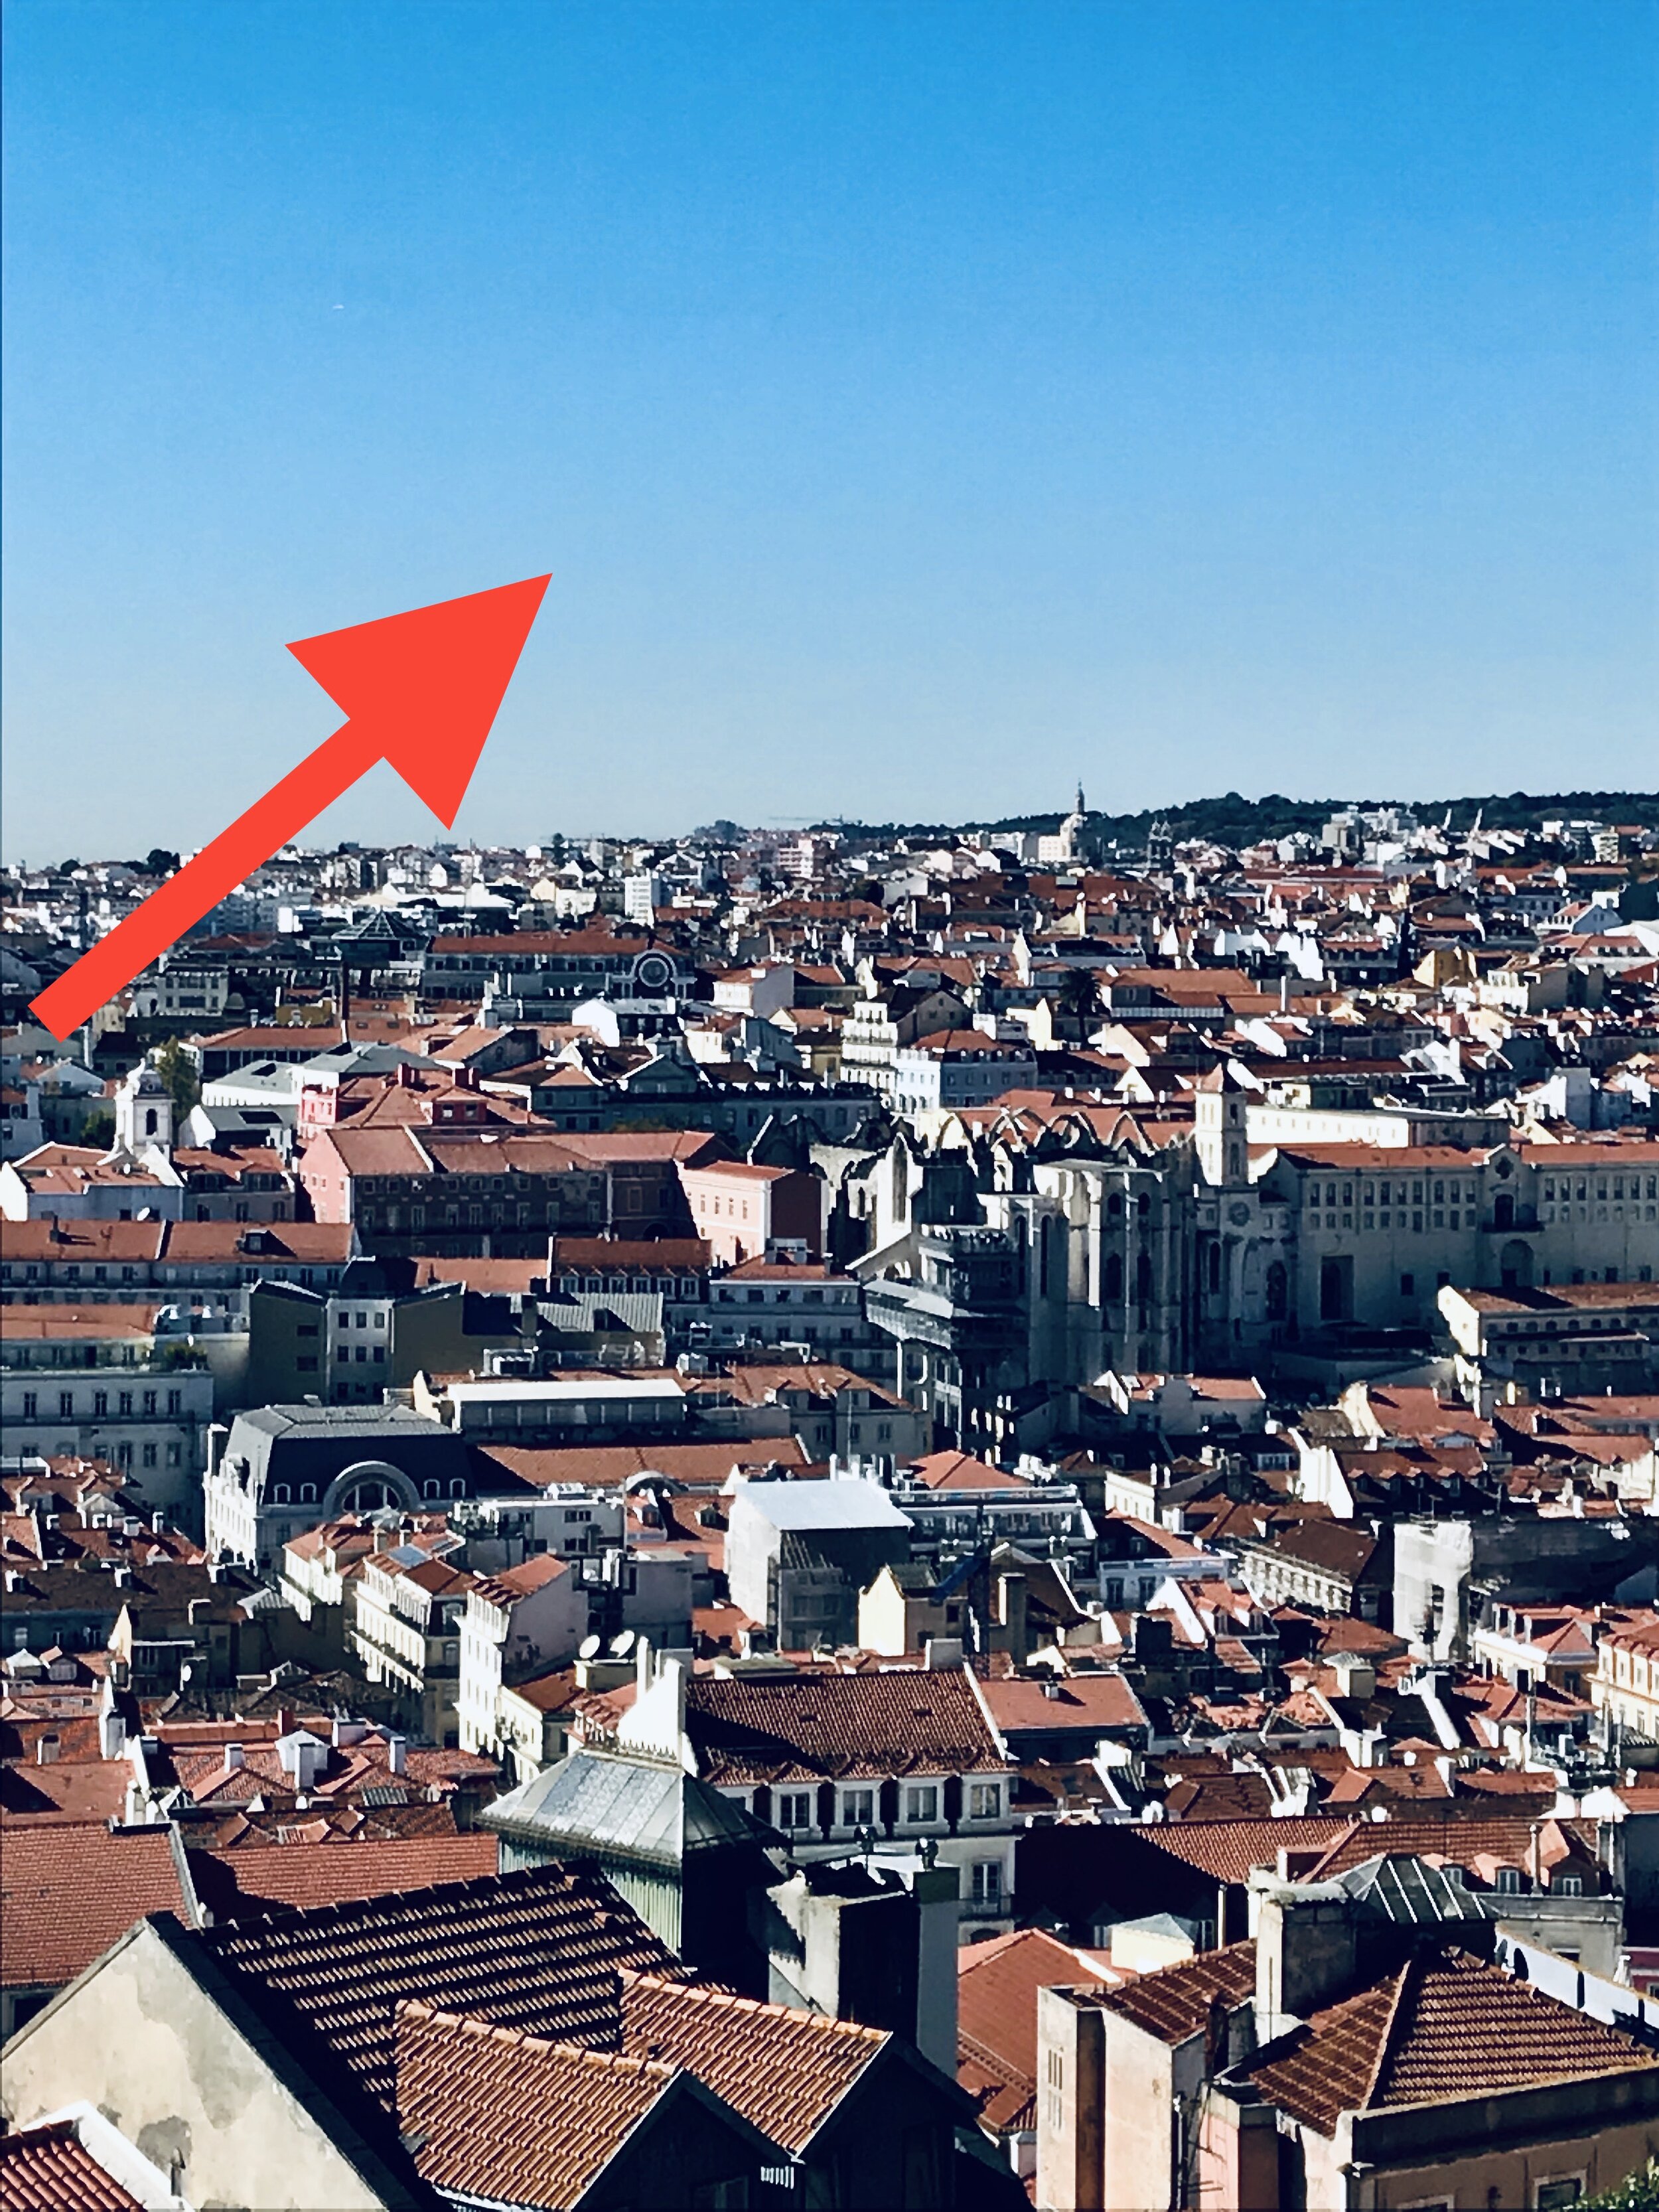
The red arrows on these images point to the spaces that would be perfect to add titles or text by a graphic designer to be used in print or for social media assets.
Think like a graphic designer
If you are planning on selling your images, or even using them as marketing images for social media (like Pinterest), make sure you think about composition.
You will need some space in the shot where titles or text can be added. I worked as the Editor-In-Chief of a magazine for five years, and we threw out so many beautiful images because there was no way they would work with text on them. If you want an opportunity to gett your image on the cover of a magazine, think about where the text would go when you are framing the shot.
Sometimes the most stunning shots come in less-than-ideal conditions like this photo that was taken in Peggy’s Cove, Nova Scotia during a stormy day well outside of the tourist season.
Take your photos at different times of day and with different lighting
The way that a place looks in the morning is vastly different than how it looks in the evening. Consider returning to a popular tourist spot, beautiful street, or gorgeous landscape at various times to capture the different views as the sun moves across the sky.
Many travelers think that the perfect travel shots require sunny days and bright blue skies, but some of the most atmospheric shots are taken on foggy or cloudy days. Don’t be discouraged if the weather is less than ideal — you may end up getting the best shots of your trip!
Capture cultural moments
If you genuinely want to capture the essence of a place, have your camera ready to take shots of those moments that are unique to the culture you are visiting.
Photograph the dapper older men gathered around the espresso bar in Italy, artisans carving boxes that will soon be sold in markets in Vietnam, early-morning surfers in Hawaii — these moments truly convey the culture of a place and showcase what sets it apart from the rest of the world.
Don’t forget to look up
There is so much to see and absorb when you are in a new place and, like the rest of the tourists around you, it is easy to walk around wide-eyed at what is in front of you and forget to look up.
There are often some pretty cool and photographable things above you — balconies dripping in flowers, forest canopies, unique rooftops, tall buildings, murals, and more. Make sure you take the time to look in all directions when you are taking photos and not just focus on what is in front of you.
Traveling alone doesn’t mean that you can’t be in any of your photos — this image was taken by balancing my camera on my backpack on a bench!
The timer is your friend
For those of us that like to travel solo — or travel with people who are not photography inclined — the timer on your camera is your best friend.
It gives you the freedom to get yourself in the shot (see the second point about including people in your travel images) for either the purpose of marketing a really cool image, or having a great photo of yourself that you can share with family and friends.
The best part is that you can retake and reposition the camera as many times as you want to get the shot just right, and not depend on other people to keep taking photos for you.
FAQs
What type of camera should I take traveling with me?
This depends on what you want to use your photos for — are you trying to sell them, just taking photos to show your family and friends , shooting for a travel blog, or are you planning on blowing them up and framing them when you get home?
If you are trying to sell your images or enlarge them significantly, I would recommend taking more than just a point and shoot to give you more control over your settings.
Whatever camera you do choose, keep in mind that you will be encountering many varied light conditions that you will have to account for. You might end up taking low-light images in Gothic churches and then sun-drenched shots of the local square. Make sure you are familiar with your camera, so you can adjust accordingly.
Also consider how much equipment you want to carry. Do you want to be juggling multiple lenses or having heavy equipment take up space in your bag?
Here are some resources to help you choose the right camera for you:
Best travel camera: 10 compact models perfect for your vacation by TechRadar
The 10 best cameras for travel photography by The Adventure Junkies
Is my phone’s camera good enough to take photos with on my trip?
Short answer? Yes.
Long answer? It depends on what you want you want to use your images for (see the question and answer above).
Cameras on smartphones have come a LONG way and many of them even take photos that are good enough quality to enlarge at the end of your trip. If you aren’t familiar with more complex camera models, your smartphone might be the best camera option for you.
Just make sure you have enough space available to take lots of photos, or have another device with you that you can transfer your photos to if your camera roll fills up.
How do I take the perfect travel photo?
While the definition of a “perfect” travel photo is personal and based on what you are wanting to use your images for, if you follow the advice in this post (summarized below) you are sure to create an image that will evoke the culture that you are visiting and that will transport you back to the most meaningful part of your adventures every time you look at it.
Take as many photos as possible to make sure you get that one great shot
Include people in your travel images to show perspective and add life to them
Find unique ways to photograph well-known monuments
Shoot from a different perspective — crouch down or climb up high
Capture the details
Make sure your images are experiential and immersive
Take photos of lesser-known places
Think like a graphic designer
Take your photos at different times of day and with different lighting
Capture cultural moments
Don’t forget to look up
The timer on your camera is your friend — use it
Pin Me!
Related Posts
Meet The Author
Lindsay Shapka is an avid traveler and the creator of The Anthrotorian — a website dedicated to sharing travel tips, stories about adventures, culture quirks, artists you should know, fascinating bits of history, and more!
She is also an artist, marketing specialist, editor, and freelance writer who has work featured on websites, blogs, and in magazines like National Geographic Traveler.


